
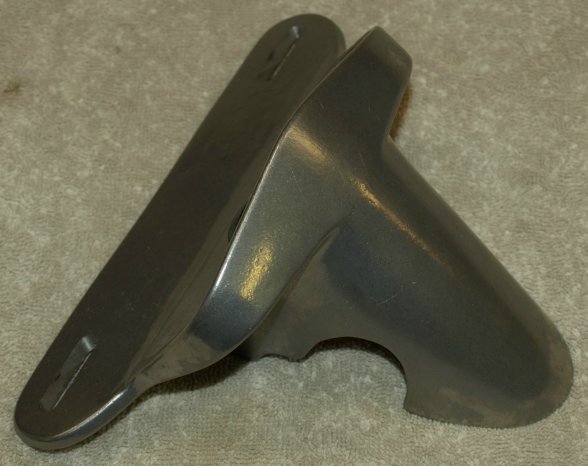
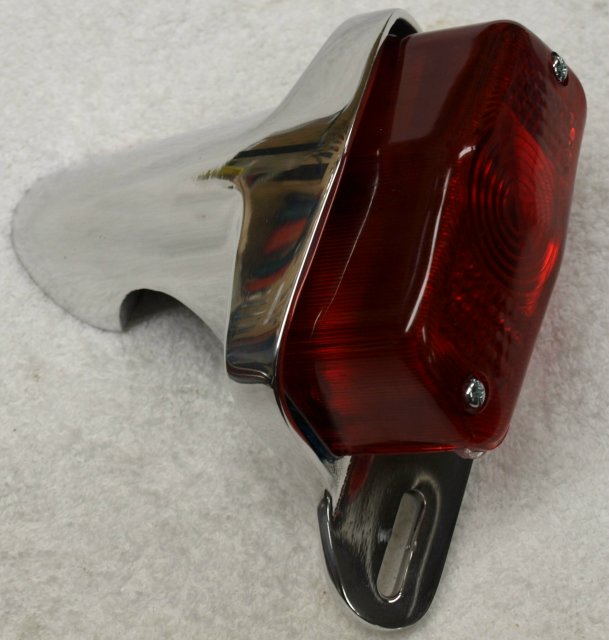
This housing is finished except for the polishing and includes the tail lamp assembly. We include the tail lamp assembly for the polished housing. We are selling it rough finished for the customers that do not mind polishing it themselves.
Please note that we are not going to continue manufacturing these tail light housings so, WHEN THEY ARE GOWN THEY ARE GOWN.
The following prices are current as of 07/14/21.
The following pictures and instructions should show how to mount the tail light.
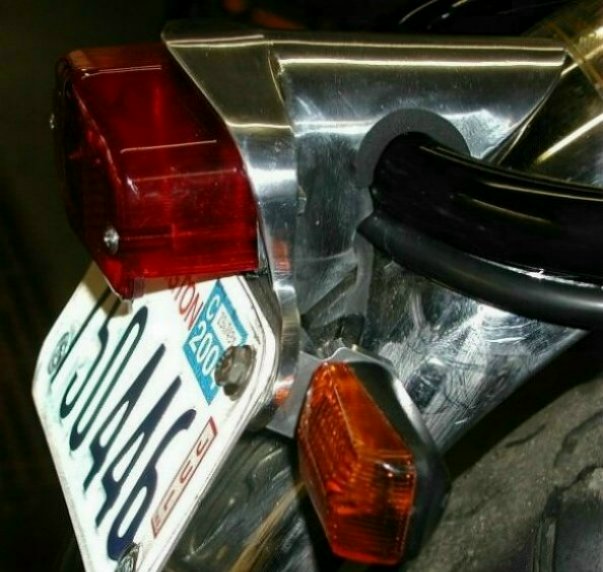
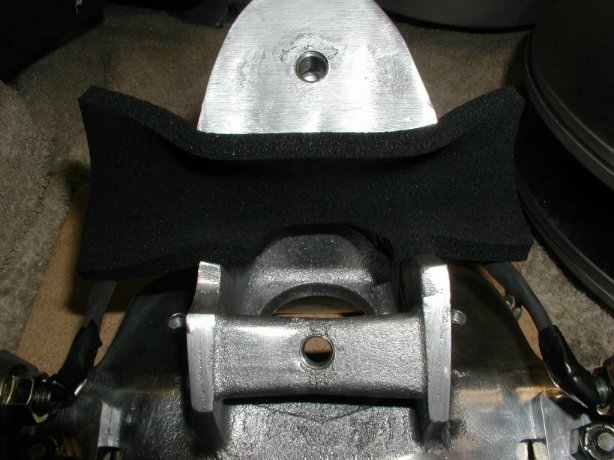
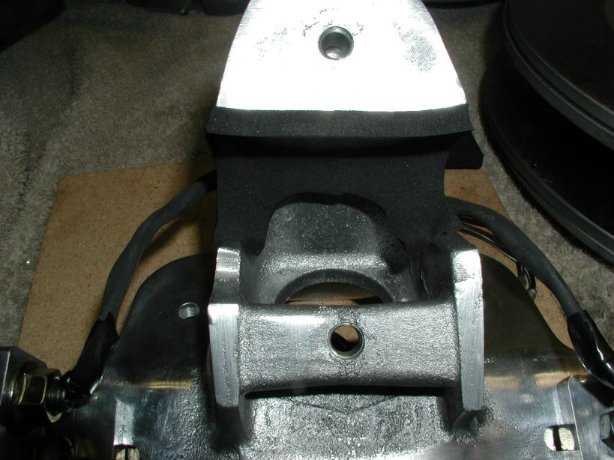
We tried to build the housing to use the existing holes with out any modifications, but in order to have room for the tail light back to fit into the housing, the bottom brace had to be moved down a bit. The bottom fender hole will have to be elongated, but the top hole works fine. What we have done is, with just the housing and padding, but no light, loosely fit the top bolt and mark where the bottom bolt hits the fender. We have found that this is about the width of the bolt, lower down the fender. Then file out the bolt hole and tape over all the holes with duct tape. Then cut two holes in the tape where the bolts go through. The tape seals the back side of the light.
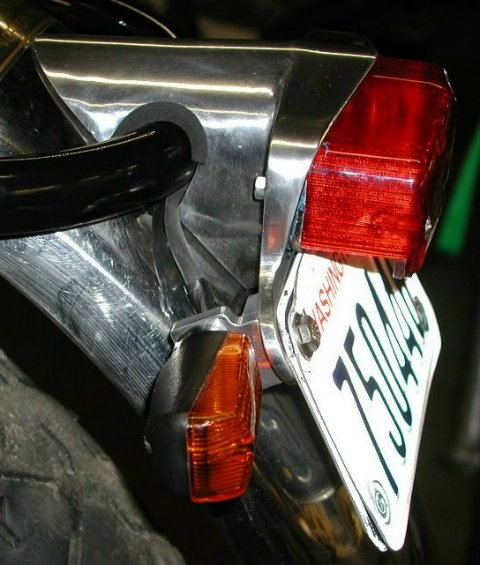
Place the padding in the housing as shown in the above picture and tighten up the tail light. You can now cut the excess padding that sticks out with a sharp knife or
mark where you are to cut, remove the tail light and cut the pad with scissors.
This page was written and designed by F. H. Eaton & Associates if you have any questions or comments please contact us at info@fheaton.com